
How to prep your quilt sandwich for longarm quilting.
One of the most frequent questions we get asked is: How do I prepare my quilt for longarm quilting?
And today we’re going to answer that. There are many similarities between preparing your quilt sandwich for the longarm and for your domestic machine, but there are a few key differences, so keep reading.
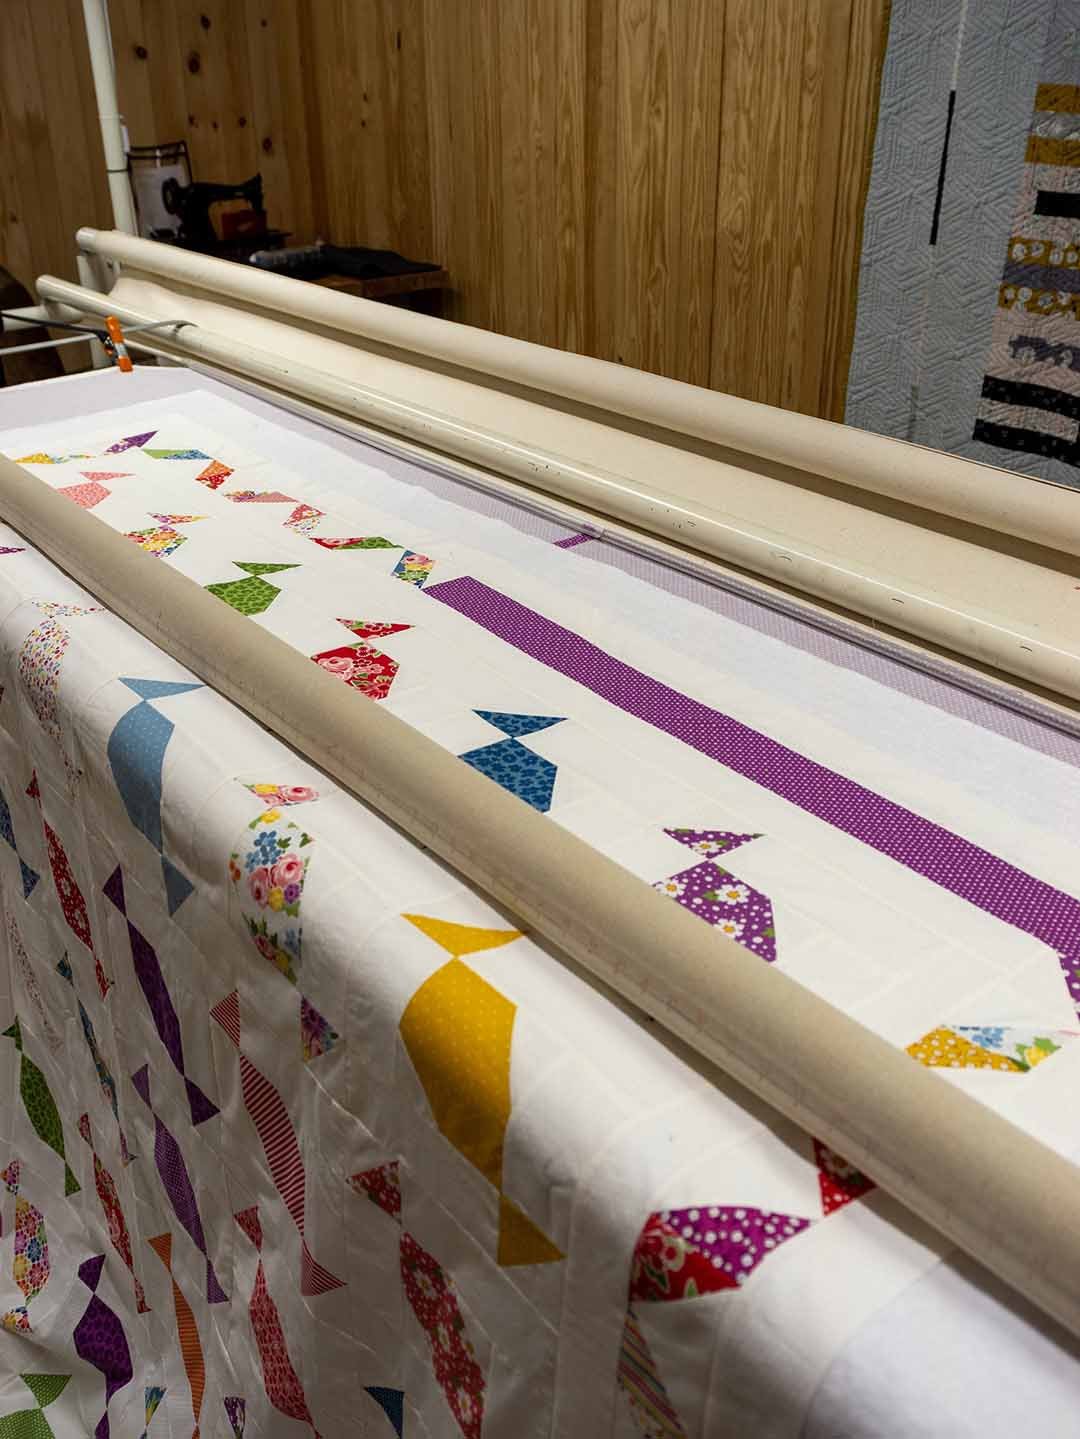
The first big difference is that since all components of your quilt sandwich are loaded separately, there is no need to pin all your layers together before bringing it to your longarmer. In fact, allowing each piece to drape independently will prevent excess wrinkles and creases.
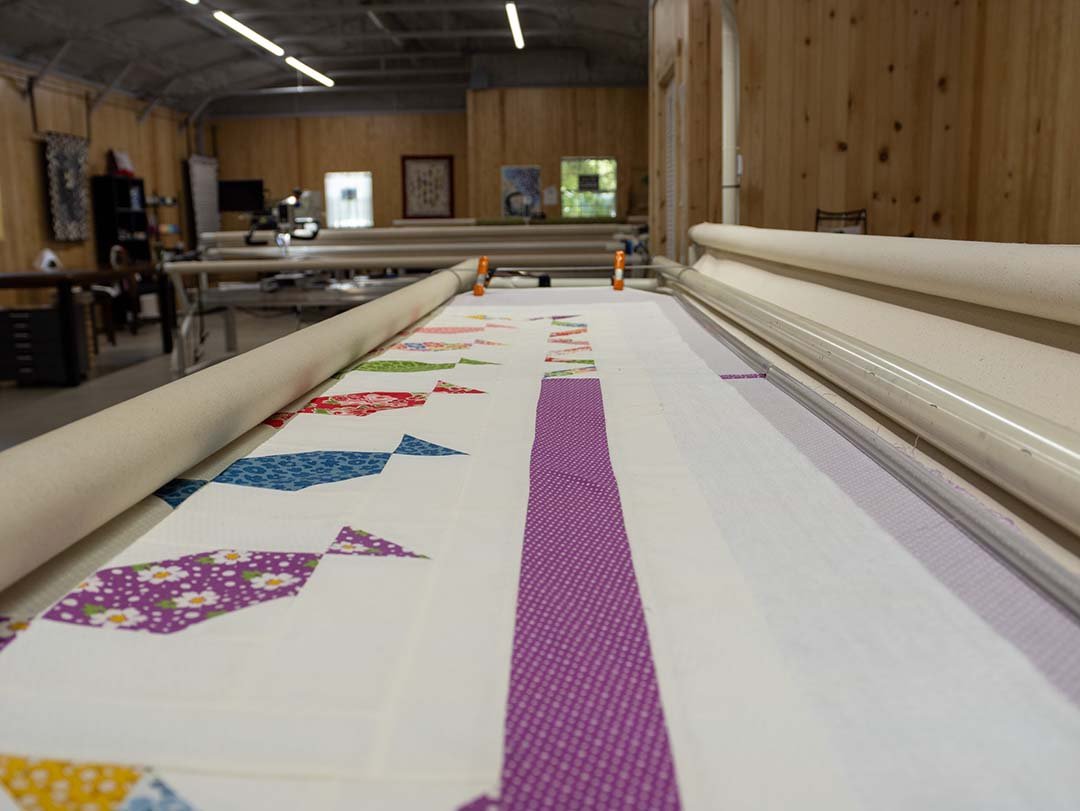
Step 1: Squaring your quilt. Make sure your quilt top is as square as possible. This helps ensure that there are no puckers, tucks or “C cups” (excess fabric that can cause fold overs as it is quilted.
Step 2: Remove Embellishments. For ideal and consistent quilting, make sure your top is free from hard embellishments like jewels, sequins, buttons etc. Some computerized systems like our APQS Quilt Path, can avoid those items, but they will ultimately interrupt the pattern to some extent.
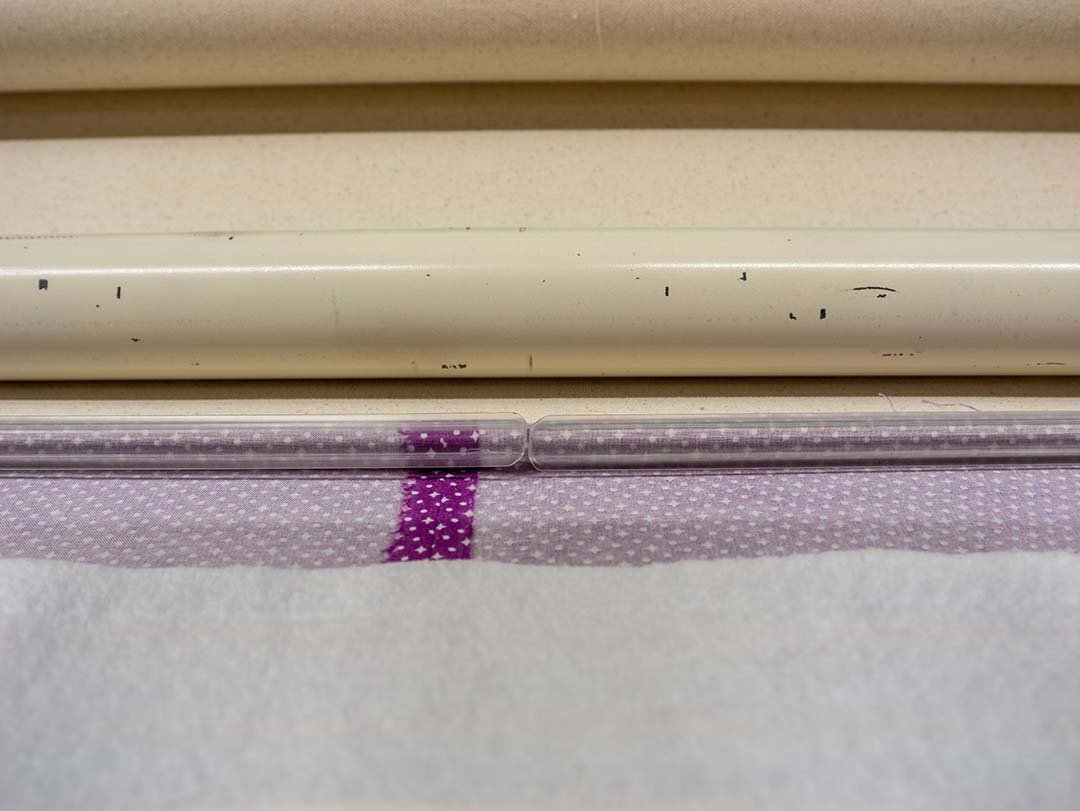
Step 3: Loose threads. Trim all loose threads, especially if you have darks threads next to lighter fabrics. This will be a much easier task to do before it’s been quilted, otherwise you may have to pick out loose threads from under the quilting.
Step 4: Seams. Make sure to press your seams, in whichever way works best for you. This will create a smoother ride with less hiccups for the longarm as it quilts your quilt sandwich.
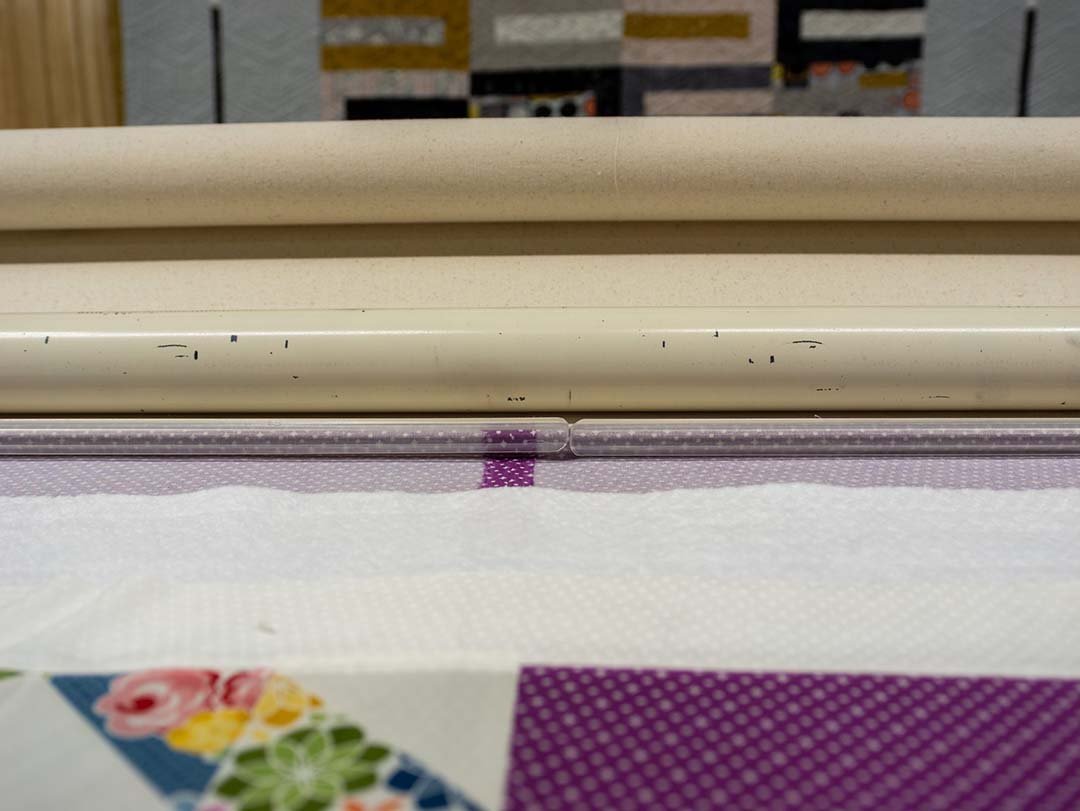
Step 5: Backing fabric. When sending your quilt to be longarm quilted, make sure your backing is at least 4-6 inches wider than your quilt top on all sides. Ex: your quilt top is 60” x 60” your backing should be at least 68” x 68”. This will ensure that your longarmer has enough length of fabric to attach your backing to their frame, as well as enough width on the sides for clamping your fabric, which keeps everything smooth and taught while quilting. Note that sometimes pieced backing can still go wonky, horizontal piecing can usually minimize that on the longarm. Also consider using 108” wide back fabric, this keeps your backing in one piece with no seams.
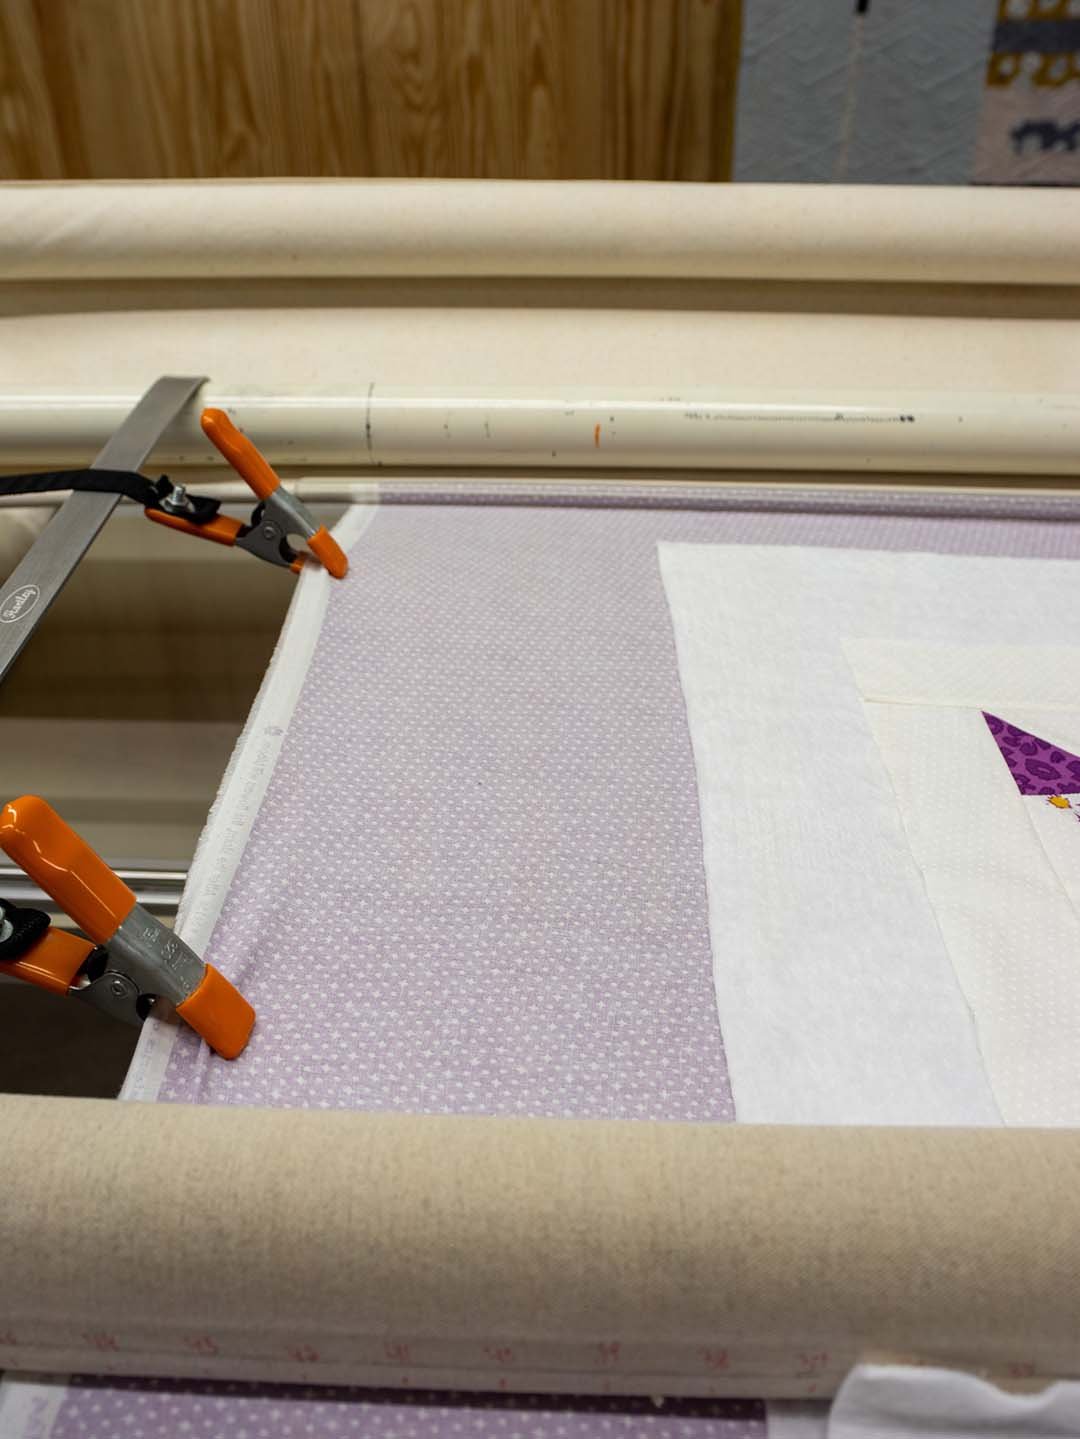
Step 6: Batting. If you’re supplying your own batting for your quilt, make sure your batting is also at least 4 inches wider than your quilt top on all sides. The excess batting leaves room so that, if your quilt is not 100% square, it will still be totally sandwiched. There are many different types of batting depending on the loft and feel you’re looking for. Warm and natural for cozy quilts, thin and lightweight for breathability, or polyester for that high loft look!
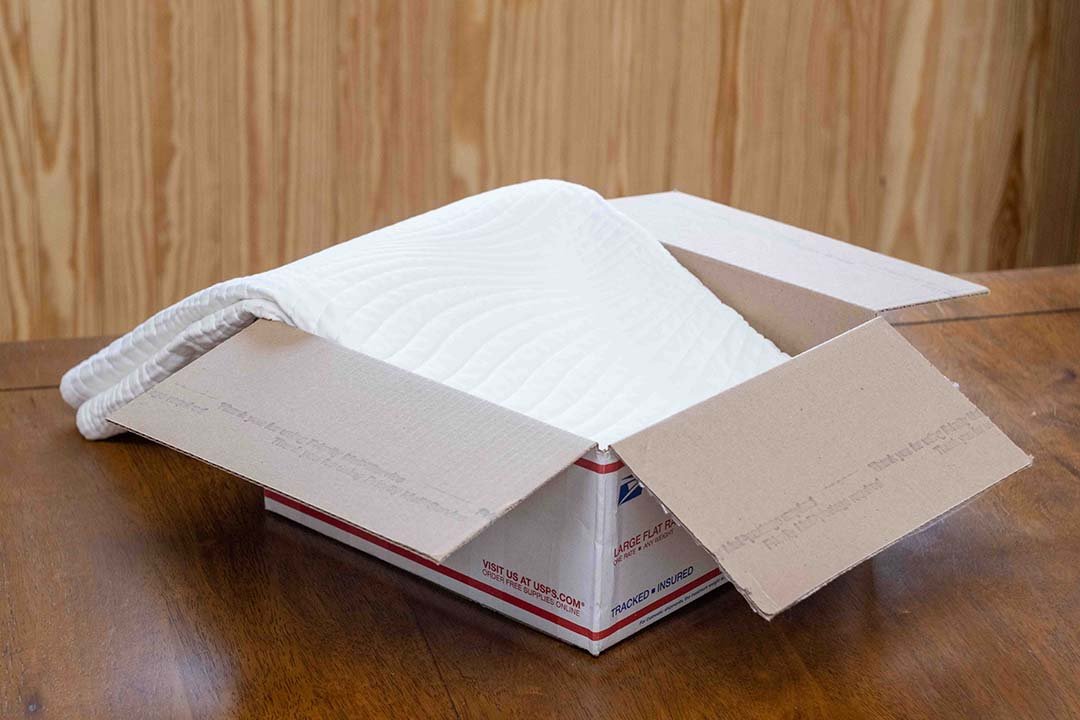
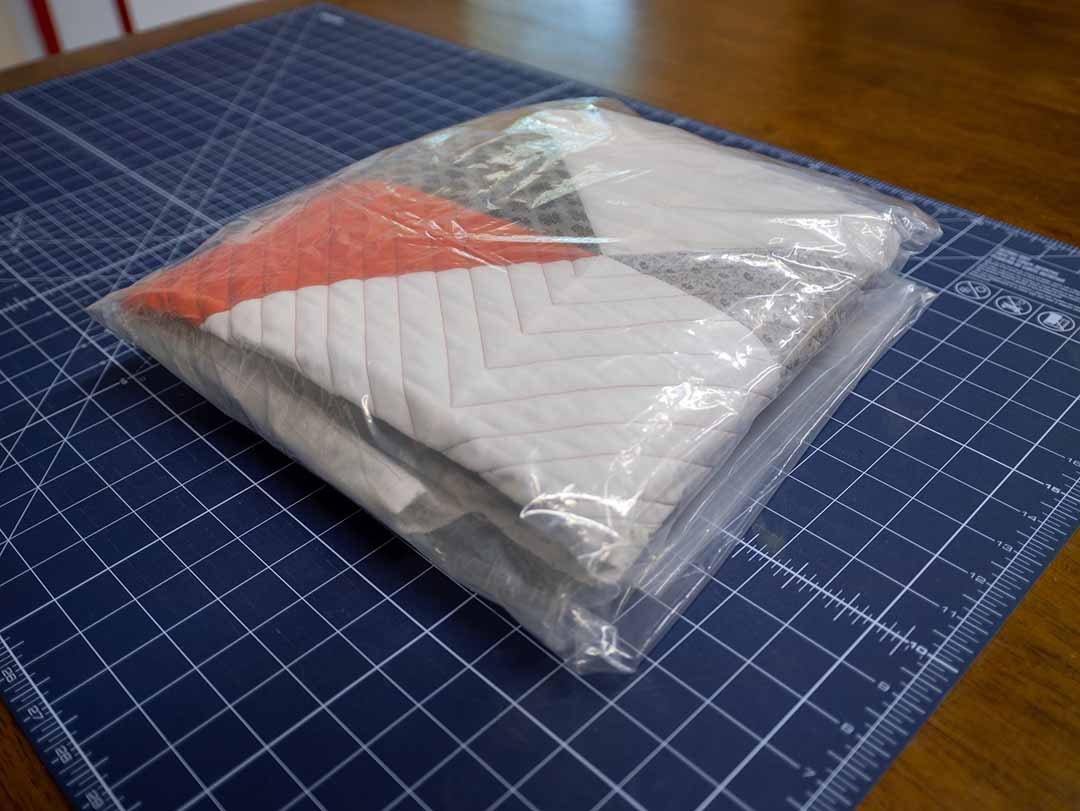
Step 7: Shipping. If you’re planning to ship your quilt for mail-in quilting, it’s a good idea for all parts of your quilt sandwich to be sealed from the weather in some sort of protective element. These can be large zip lock bags, garbage bags or any kind of plastic wrap.
Properly preparing your quilt sandwich will ensure the best possible outcome when it's time to quilt your project. You worked hard to make the quilt top perfect, following these steps will ensure that the finished quilted product is just as perfect!
Oh I almost forgot the most important step!
Step 8: Don’t be afraid to ask your longarmer questions! We want to work with you from finding the best pattern to top and bobbin thread colors for your quilt top. You did every step until now and we want you to be included in every step we take also. It’s all a labor of love and we want you to love your finished quilt.
Side Note: We appreciate that some quilters prefer to take on everything in the quilting process, from start to finish, so we also offer longarm rentals in our store. We have traditional pantograph and free-motion quilting rentals, as well as rental of our computerized software to get that perfect Edge to Edge every time. Check out more information on rentals here: Longarm Machine Rentals